Installing Canned Lighting | Existing CeilingsInstalling canned (recessed) lighting can be done in a few simple steps:
1. Mark LocationsMark all light locations and then cut a hole in the ceiling with a drywall saw or drill. 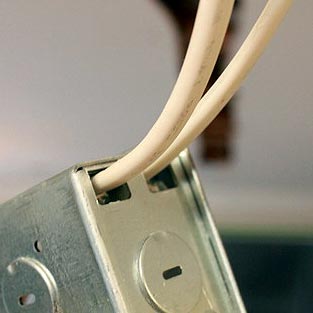
2. Rough in WiringRough in the wiring by opening the light’s junction box and running a cable from the power source to a switch box. Connect to the first hole. 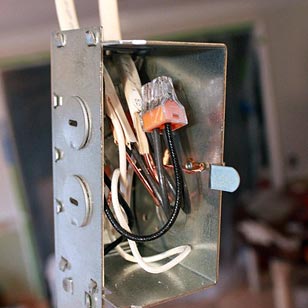
3. Wire the LightWire the light by opening the light’s junction box. Then, run the cable into the box and clamp tightly. Strip any insulation and make wire splices (black to black, white to white, ground to ground, etc.). Fold the wires into the box and replace cover. 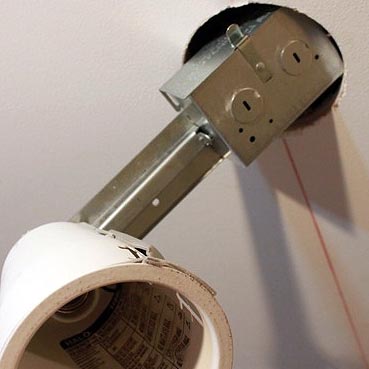
4. Mount the LightMount the light by slipping the can’s box into the hole until tight. Depending on the model, push each clip up and out until everything clicks 
5. Add TrimAdd the trim by hooking the coil springs or squeezable rod springs where applicable. Then push the trim into place for a finished light fixture. |